Ansible + NetBox: Getting Next Prefix / IP
Table of Contents
This originates from a conversation had on Twitter about how to get the IP Prefix information from an IPAM tool, specifically NetBox using Ansible. There are a couple of methodologies to go through, and I had originally started down the path of using the URI module. Which could be done. The more elegant solution is to use the NetBox Ansible Collections to handle the logic for you! Let’s take a look.
Thank you to @ttl255 for the inspiration to the journey with the Collection!
The final playbook will be posted at the very bottom.
Setup #
The NetBox environment for this is NetBox 2.9.9. I have not tested with previous versions, but believe that this will work with 2.8.x as well. The Ansible execution environment is Ansible 2.9.15. This is making use of the Ansible NetBox Collections using the FQCN for the NetBox modules and NOT the core modules.
The first thing to note with this is that there are two variables in the environment to help this. They are the URL and TOKEN. This is good practice to help pass this through without much changes. The primary prefix at the top of the code should likely also move into the environment so that it can be changed.
NETBOX_URL
NETBOX_TOKEN
The lab device that will be having the configuration updated is the edge router of my GNS3 lab. This had one more interface available on it for me to change and rather than change things up significantly, I just used this device.
Scenario #
To get the next available Prefix from NetBox, and assign the IP address to the interface on the router. Success criteria for this scenario include:
- Allocate a /24 network prefix within NetBox for use
- Allocate the first usable (192.0.2.0/24 would be 192.0.2.1) as allocated within NetBox
- Add the IP address configuration to the router interface GigabitEthernet0/3
- Add the network to area 0 of the OSPF configuration
The device has already been created in NetBox with all of the necessary interfaces. A separate post will be created around adding devices to NetBox. To get started on this I suggest taking a look at a YouTube video that I did for the Ansible Minneapolis Meetup - https://www.youtube.com/watch?v=GyQf5F0gr3w and the corresponding [GitHub repo]
NetBox Prefix Allocation #
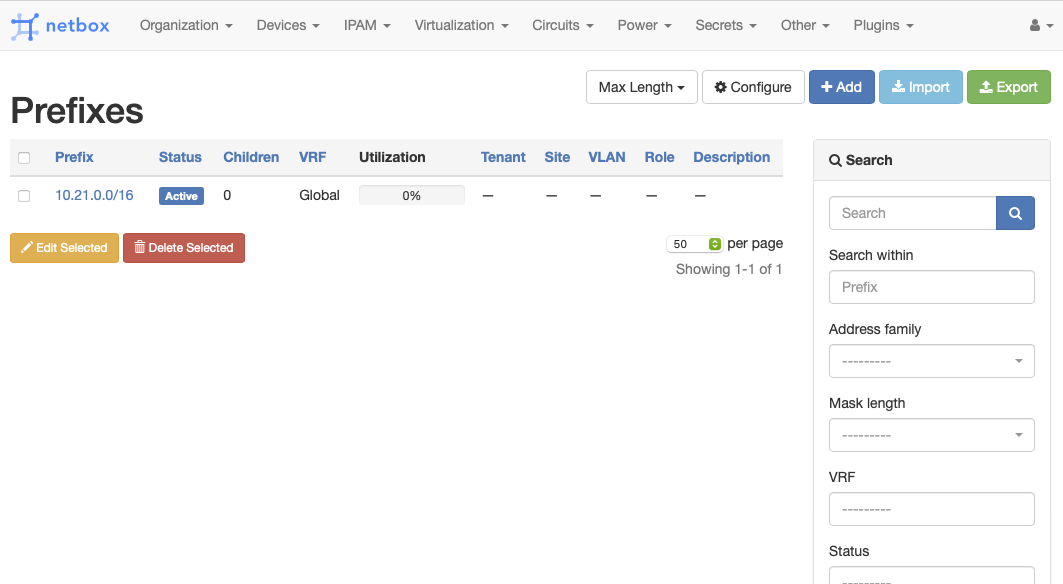
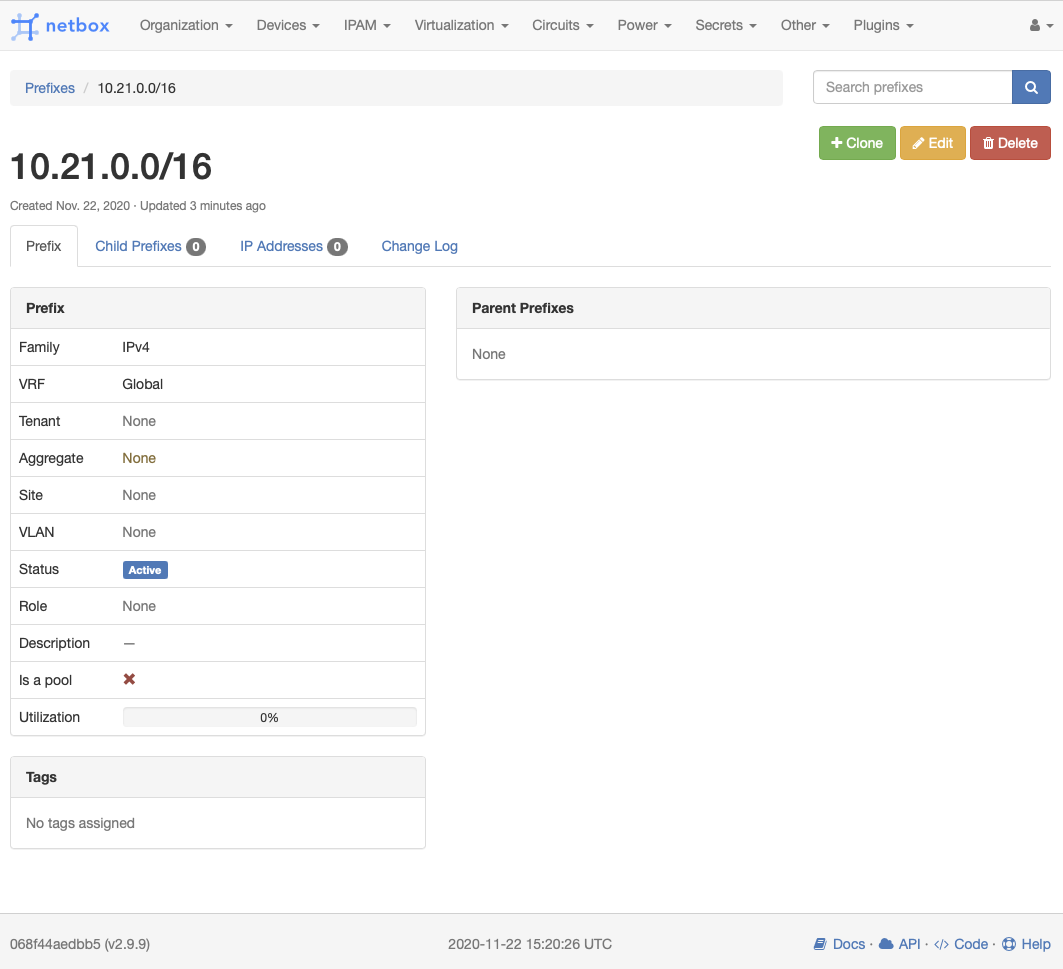
Here are the start the NetBox prefix allocation only has a single prefix defined at the start. Only 10.21.0.0/16, which is going to be the parent prefix.

We can see that there are no children prefixes and the current allocation is 0.

Creating a Prefix within NetBox #
The first step is to assign another prefix within NetBox. To do this the following task is used:
- name: “10 - GET NEW PREFIX FROM NETBOX {{ primary_prefix }}”
  netbox.netbox.netbox_prefix:
    netbox_url: “{{ lookup(‘env’, ‘NETBOX_URL’) }}”
    netbox_token: “{{ lookup(‘env’, ‘NETBOX_TOKEN’) }}”
      data:
        parent: “{{ primary_prefix }}”
        prefix_length: 24
      state: present
      first_available: yes
  register: prefix_info
This task is going to take from the parent prefix and allocate a prefix of length 24. This states to take the first available prefix. Executing the playbook we are building with the -vv option and the stdout_callback=yaml in the ansible.cfg file you can see the output:
changed: [rtr-edge] => changed=true
  msg: prefix 10.21.5.0/24 created
  prefix:
    created: '2020-11-22'
    custom_fields: {}
    description: ''
    family: 4
    id: 25
    is_pool: false
    last_updated: '2020-11-22T15:57:13.641224Z'
    prefix: 10.21.5.0/24
    role: null
    site: null
    status: active
    tags: []
    tenant: null
    url: http://netbox.josh-v.com/api/ipam/prefixes/25/
    vlan: null
    vrf: null
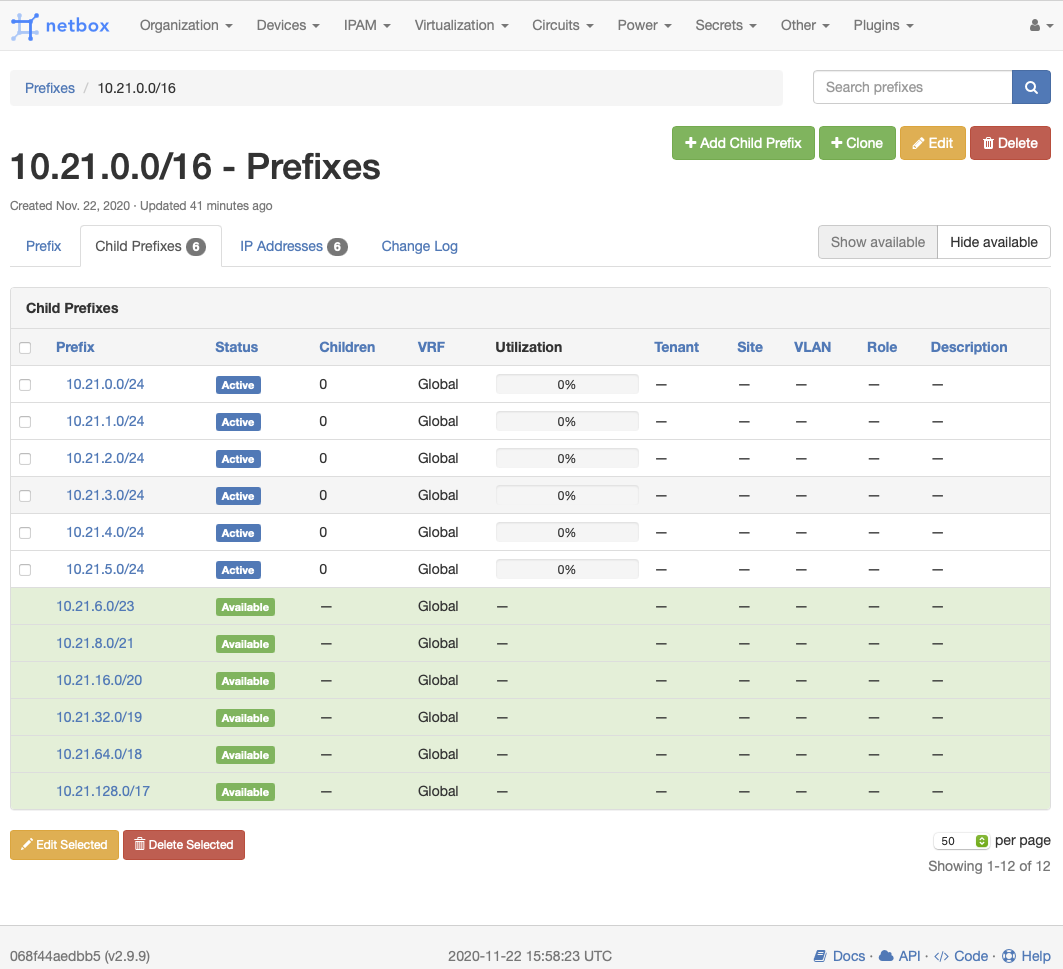
This response when registered will provide with the Prefix ID, prefix itself, and any additional items that may have been set for your NetBox environment. After running this a few times and this demo being the sixth execution this is now what the NetBox environment looks like for prefixes:

IP Address Allocation #
After getting the first task to allocate the prefix, next up is to assign the IP address from the prefix. This task allocates an IP address from the prefix that was just previously allocated.
| |
On line 6 you see that the prefix gathered is mentioned via the variable. This is taken from the output that was seen from the NetBox Prefix allocation.
This then looks like this for the output:
changed: [rtr-edge] => changed=true
  ip_address:
    address: 10.21.5.1/24
    assigned_object: null
    assigned_object_id: null
    assigned_object_type: null
    created: '2020-11-22'
    custom_fields: {}
    description: ''
    dns_name: ''
    family: 4
    id: 23
    last_updated: '2020-11-22T15:57:14.833379Z'
    nat_inside: null
    nat_outside: null
    role: null
    status: active
    tags: []
    tenant: null
    url: http://netbox.josh-v.com/api/ipam/ip-addresses/23/
    vrf: null
  msg: ip_address 10.21.5.1/24 created
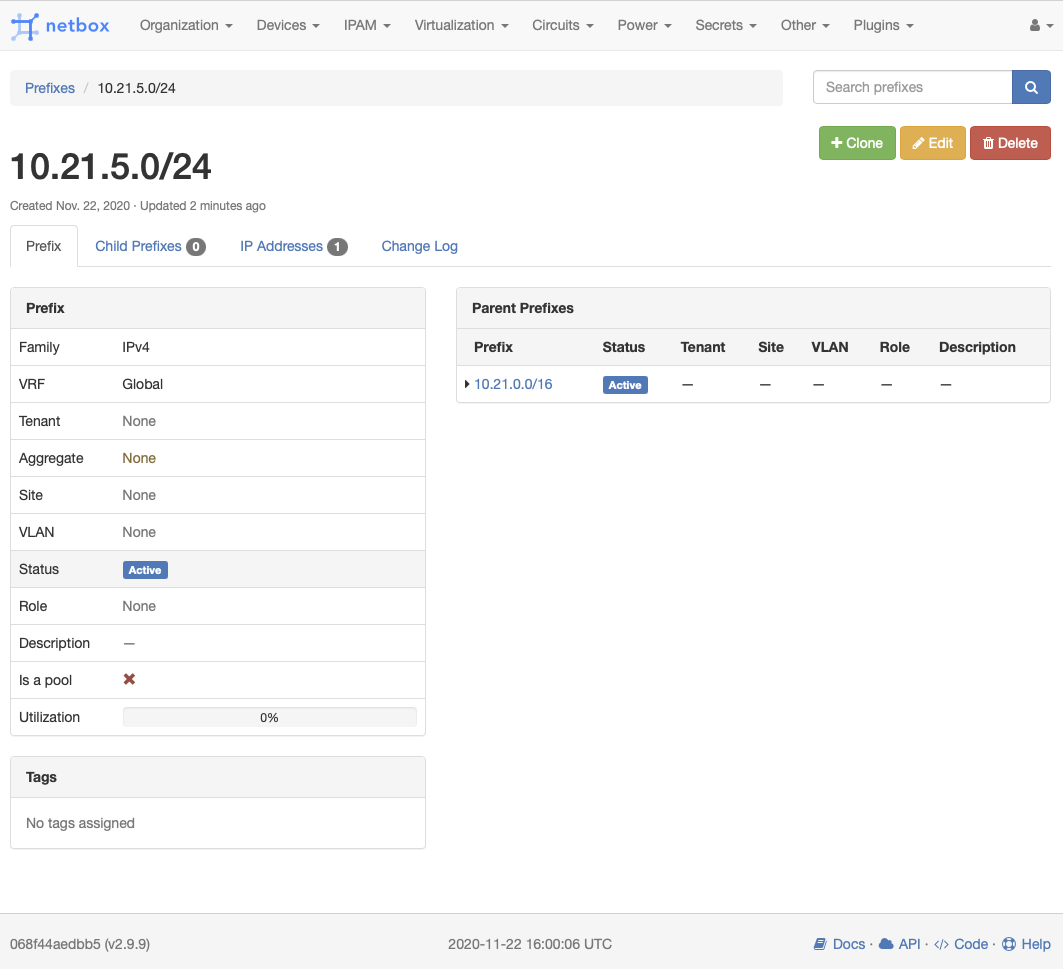
Taking a look at the NetBox Prefix View for the 10.21.5.0/24 network this is what you see:

You can see that there is a single IP address allocated.
Variable Shortening #
The next task in the Playbook is to shorten some of the variables. This is purely for visualization purposes. In order to not have long lines in the coming tasks, the following was done to create shorter line lengths:
| |
Apply the Cisco Configuration #
Now that there is an IP address and prefix available, and assigned within NetBox, the next step is to add the configuration to the device. Since this is primarily a focus on the NetBox side of things this will be short.
| |
Lines 2-7 are the applying of the configuration to the interface to be used. Lines 9-14 are used to add the network statement to OSPF for the prefix. With this done the interface is now configured and routing is setup.
TASK [100 - ADD IP ADDRESS INFORMATION TO THE ROUTER] ****************************************************************************************************************
changed: [rtr-edge] => changed=true
  ansible_facts:
    discovered_interpreter_python: /usr/bin/python
  banners: {}
  commands:
  - interface GigabitEthernet0/3
  - ip address 10.21.5.1 255.255.255.0
  updates:
  - interface GigabitEthernet0/3
  - ip address 10.21.5.1 255.255.255.0

TASK [110 - ADD ROUTING CONFIGURATION] *******************************************************************************************************************************
changed: [rtr-edge] => changed=true
  banners: {}
  commands:
  - router ospf 1
  - network 10.21.5.0 255.255.255.0 area 0
  updates:
  - router ospf 1
  - network 10.21.5.0 255.255.255.0 area 0
Production Ready #
This is a quick demo and has some hand holding that needs to be done for it. There does need to be some Atomic handling added yet to make this a rock solid playbook. In a future post I will also cover how to simplify the save_when feature to help speed things up as well. This right now will save the configuration on each change. This should get simplified down to a single save execution.
Final Playbook #
Here is what the final playbook looks like at the moment, again not completely production ready, but is a good starting point.
| |